There’s nothing the kids and I love more than turning on some holiday tunes and getting silly while making and decorating Christmas cookies. But that’s gotten a bit trickier to do since I’ve gone gluten free. So, I asked my friend and cookie connoisseur Lindsey Johnson (check out her Instagram @ladyinthewildwest) for ideas. She was sweet enough to share this holiday cookie recipe that is both gorgeous and gluten free! The “painted” ornaments are made with a delicious blend of chocolate and peppermint. And while these gluten free Christmas cookies look amazingly artistic, I promise you that they are easier to make than you would think!
Keep reading for Lindsay’s fantastic ornament cookies recipe. And tell me in the comments: What’s your favorite holiday cookie to make (eat!)?
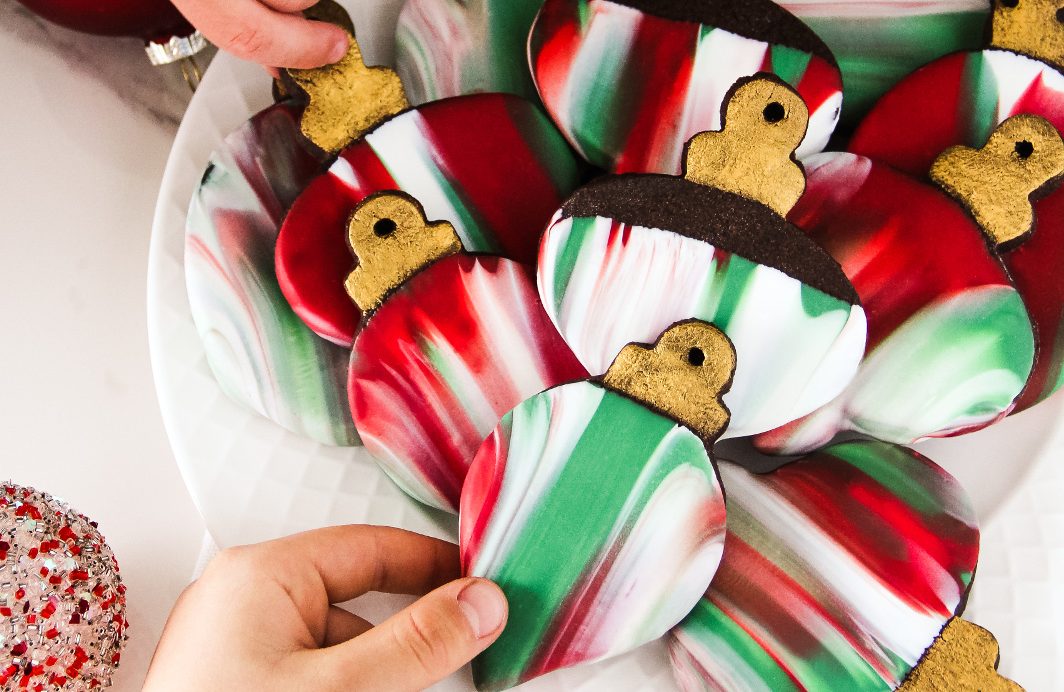
Ornament Cookies
One of our favorite cookies for the holiday season, these chocolate peppermint sugar cookies are simple to make, won’t spread in the oven, and taste just like brownies. They’re delicious on their own, but for a festive family craft project, we’ve dipped them in colorful vanilla candy coating and added gold luster dust to make them look like beautiful ornaments. Such a cute holiday gift! That is, if you can stand to part with them.
And bonus, this sugar cookie recipe is gluten free! We used Bob’s Red Mill 1 to 1 gluten-free flour. This flour mix already contains xanthan gum, making it our favorite substitute for all-purpose flour. No confusing ratios or additions, just 1 to 1. If you can’t find this flour, any gluten free-flour will work, just be sure to follow the usage guidelines on the box. Happy crafting!
Gluten-Free Chocolate Peppermint Sugar Cookies
Makes about 2 dozen 3-inch cookies
We love the addition of peppermint to these cookies during the holiday season, but if you’re not a fan of peppermint, simply leave the extract out. They’ll still taste incredible.
What You’ll Need
- 1 ¼ cups (2 ½ sticks) unsalted butter, at room temperature
- 1 ½ cups sugar
- 2 large eggs, at room temperature
- 1 tsp pure vanilla extract
- 1 ¼ tsp pure peppermint extract (don’t use mint extract, it has a toothpaste taste)
- 1 tsp kosher salt or sea salt
- ¾ tsp baking powder
- ⅔ cup cocoa powder
- 3 to 3 ½ cups gluten free flour (we used Bob’s Red Mill 1 to 1 gluten free flour)
- extra flour for rolling
Instructions
- With an electric mixer, cream the butter and sugar together until light and fluffy. About 3 minutes.
- Add the eggs, one at a time, mixing well after each addition. Add the vanilla and peppermint extracts. Mix until fully combined. Scrape down the bowl as needed.
- Add the salt, baking powder, and cocoa. Mix until fully combined.
- Add the flour, one cup at a time, mixing after each addition, until the dough comes together. If this happens at 3 cups do not add another ½ cup. If the dough still seems sticky, add the additional ½ cup of flour.
- Cover the dough and chill for at least an hour.
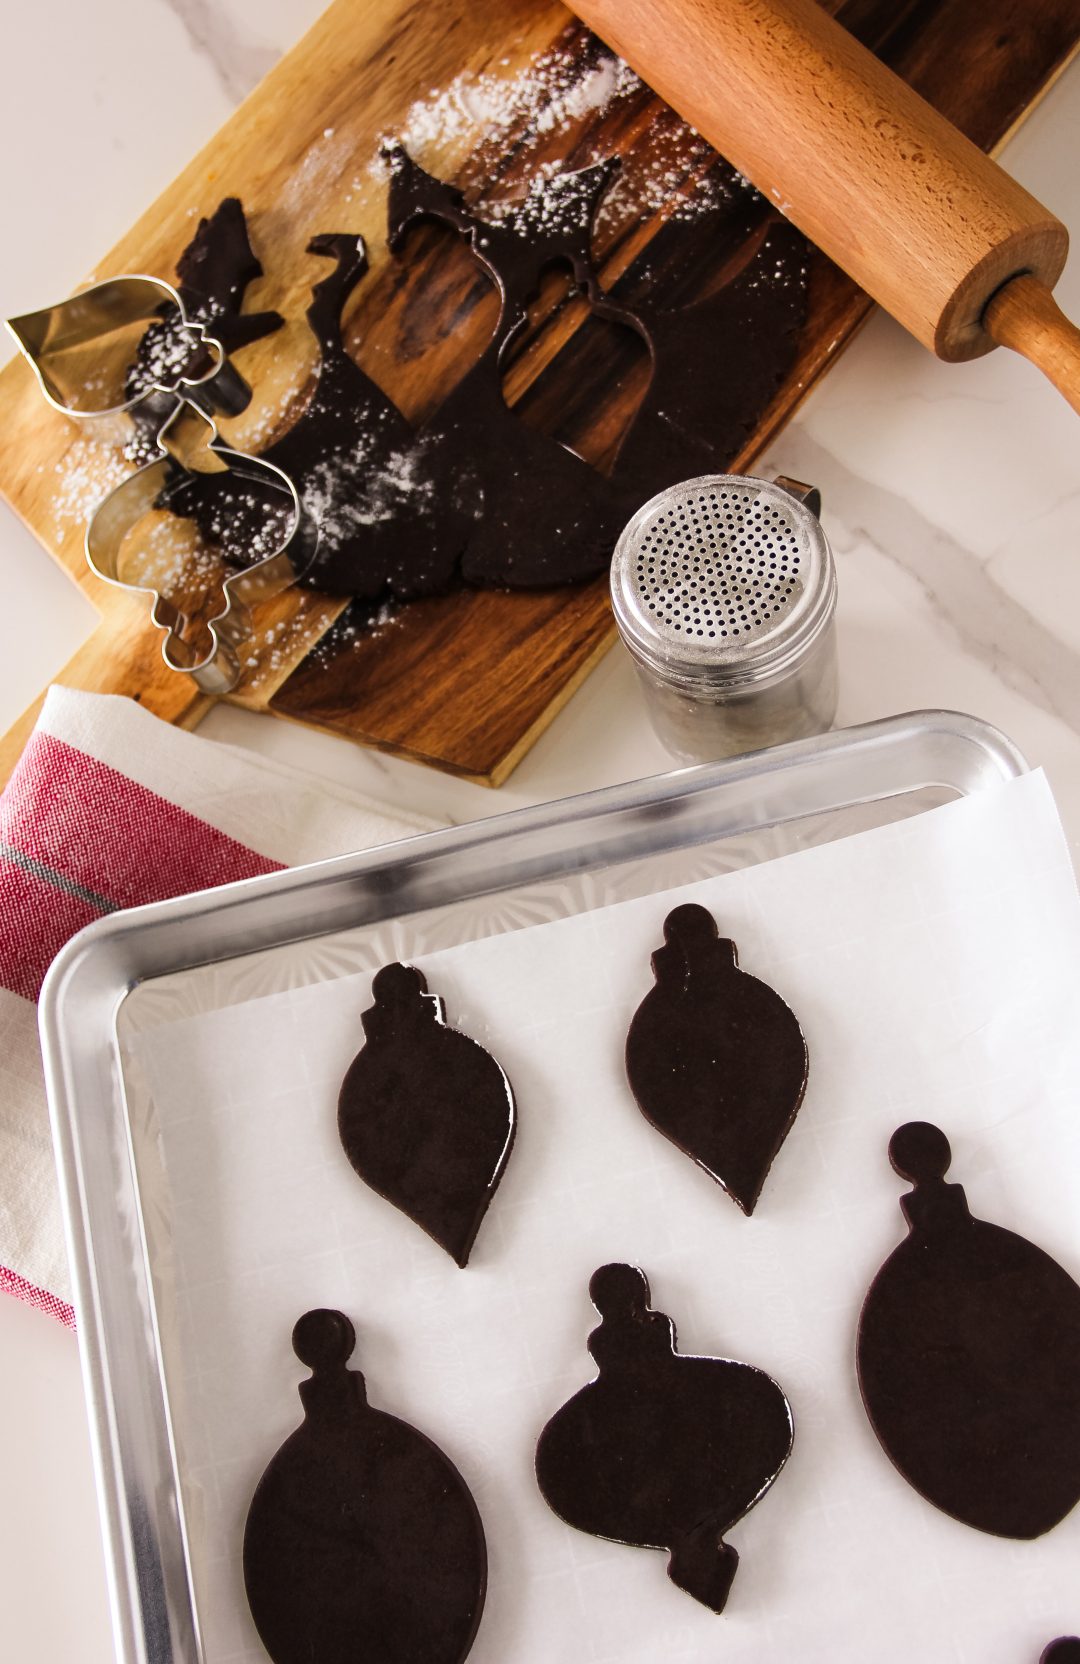
- Roll the dough out on a floured surface, about ¼” to ⅜” thick (the thicker the cookie, the more chewy it is). Use your favorite cookie cutters to cut into shapes. Bake on a parchment lined sheet at 375°F for about 10 to 11 minutes. Repeat with remaining dough.
- Allow the cookies to cool on a wire rack. Cookies will stay fresh in an airtight container for a week.
Making Ornament Cookies
What You’ll Need
- ornament cookie cutters
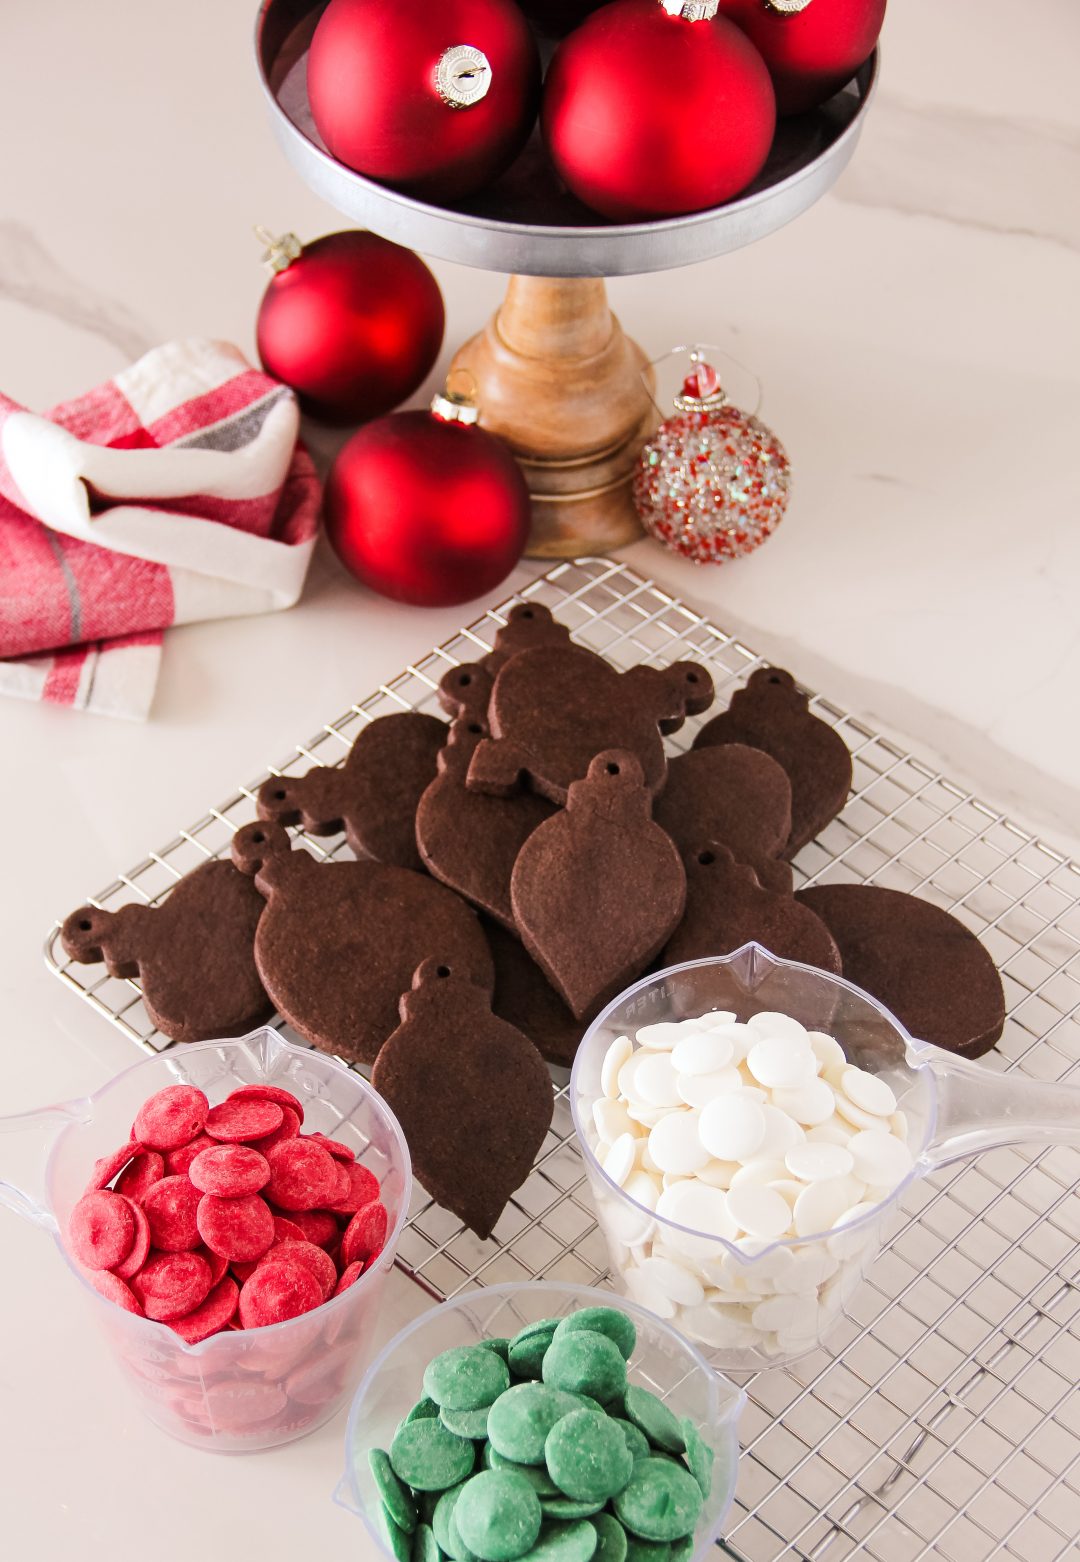
- candy melts in assorted colors*
- edible gold luster dust
- small, clean paint brush
- heat-safe bowls, deep enough for dipping the cookies (one for each color)
- parchment paper
- cookie sheets
- cooled cookies
Instructions
- Line cookie sheets with parchment paper and set aside.
- In a heat-safe bowl, heat the candy melts in the microwave for 30 second increments, stirring in between. Once melted, stir until completely smooth. This works best when you heat each color separately. Allow the candy coatings to cool for a few minutes. You want them melted and slightly warm, not hot.
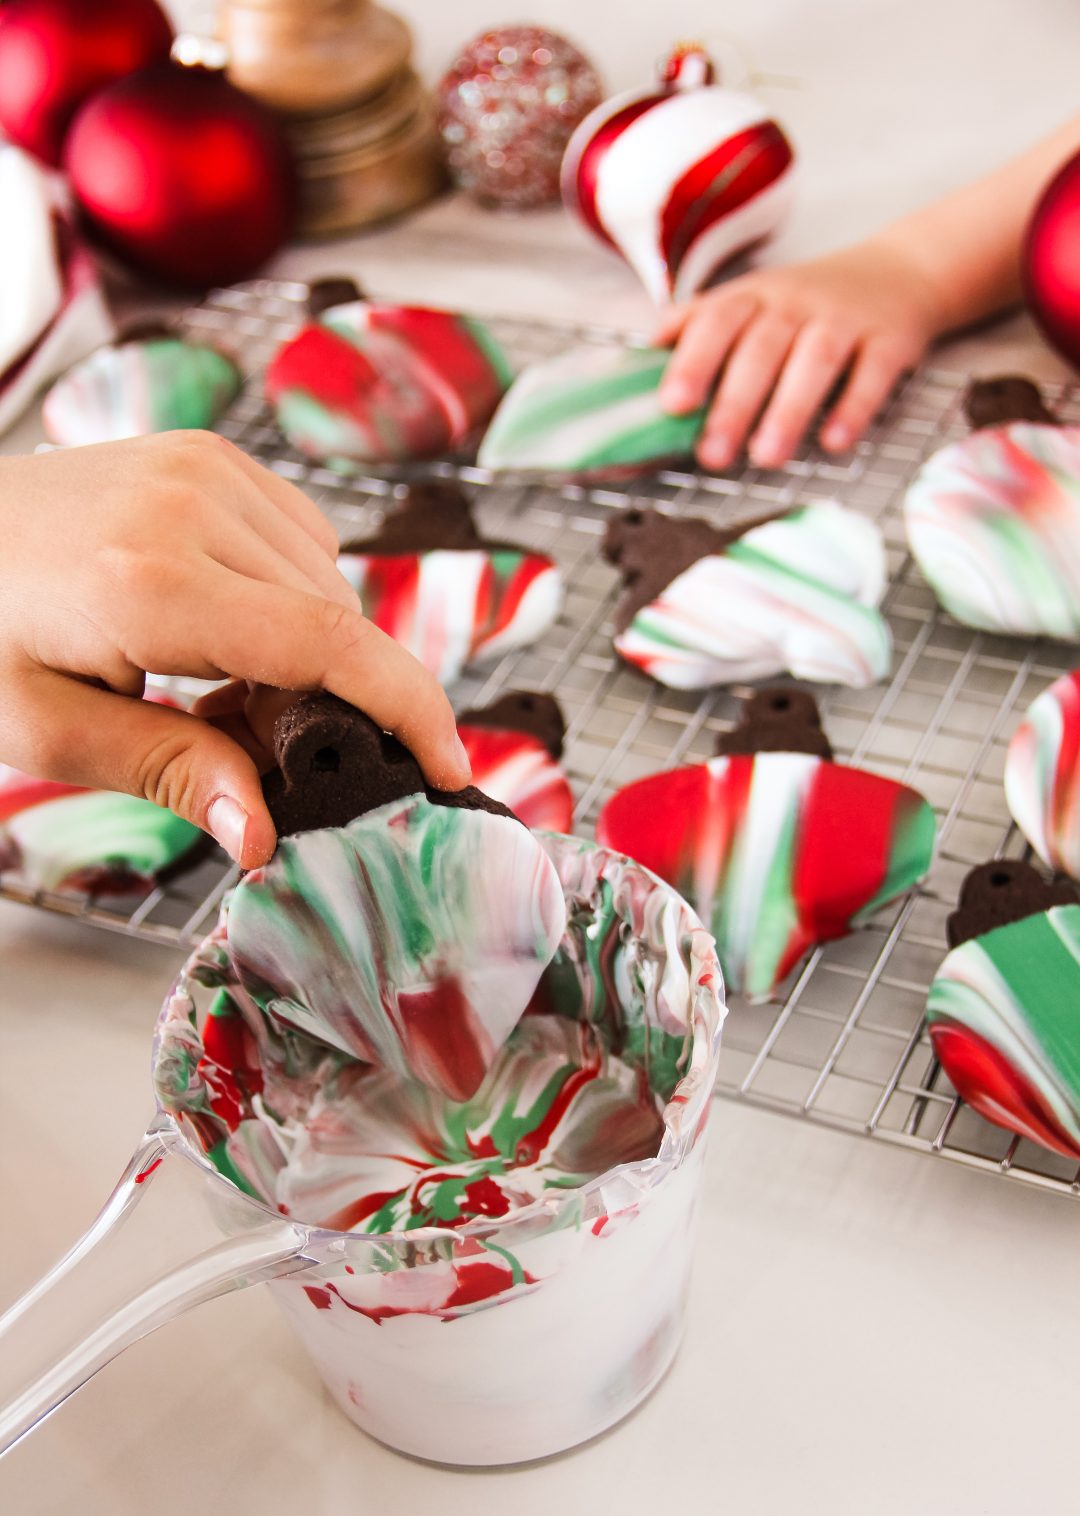
- Once you’ve melted all your colors, select one bowl and add several generous drops of the other colors to it. There’s no wrong way to do this—think Jackson Pollack. Give the bowl a slight jiggle so the colors settle in.
- Holding the cookie firmly at the top, dip the cookie into the coating and slowly pull it out. Let the extra coating to drop off back into the mixture. Lay the cookies flat on the parchment paper lined sheets. Allow the coating to set. Repeat with the remaining cookies adding more colors to your dipping bowl as needed.
- If the coating begins to set up in the dipping bowl, reheat for about 20 seconds.
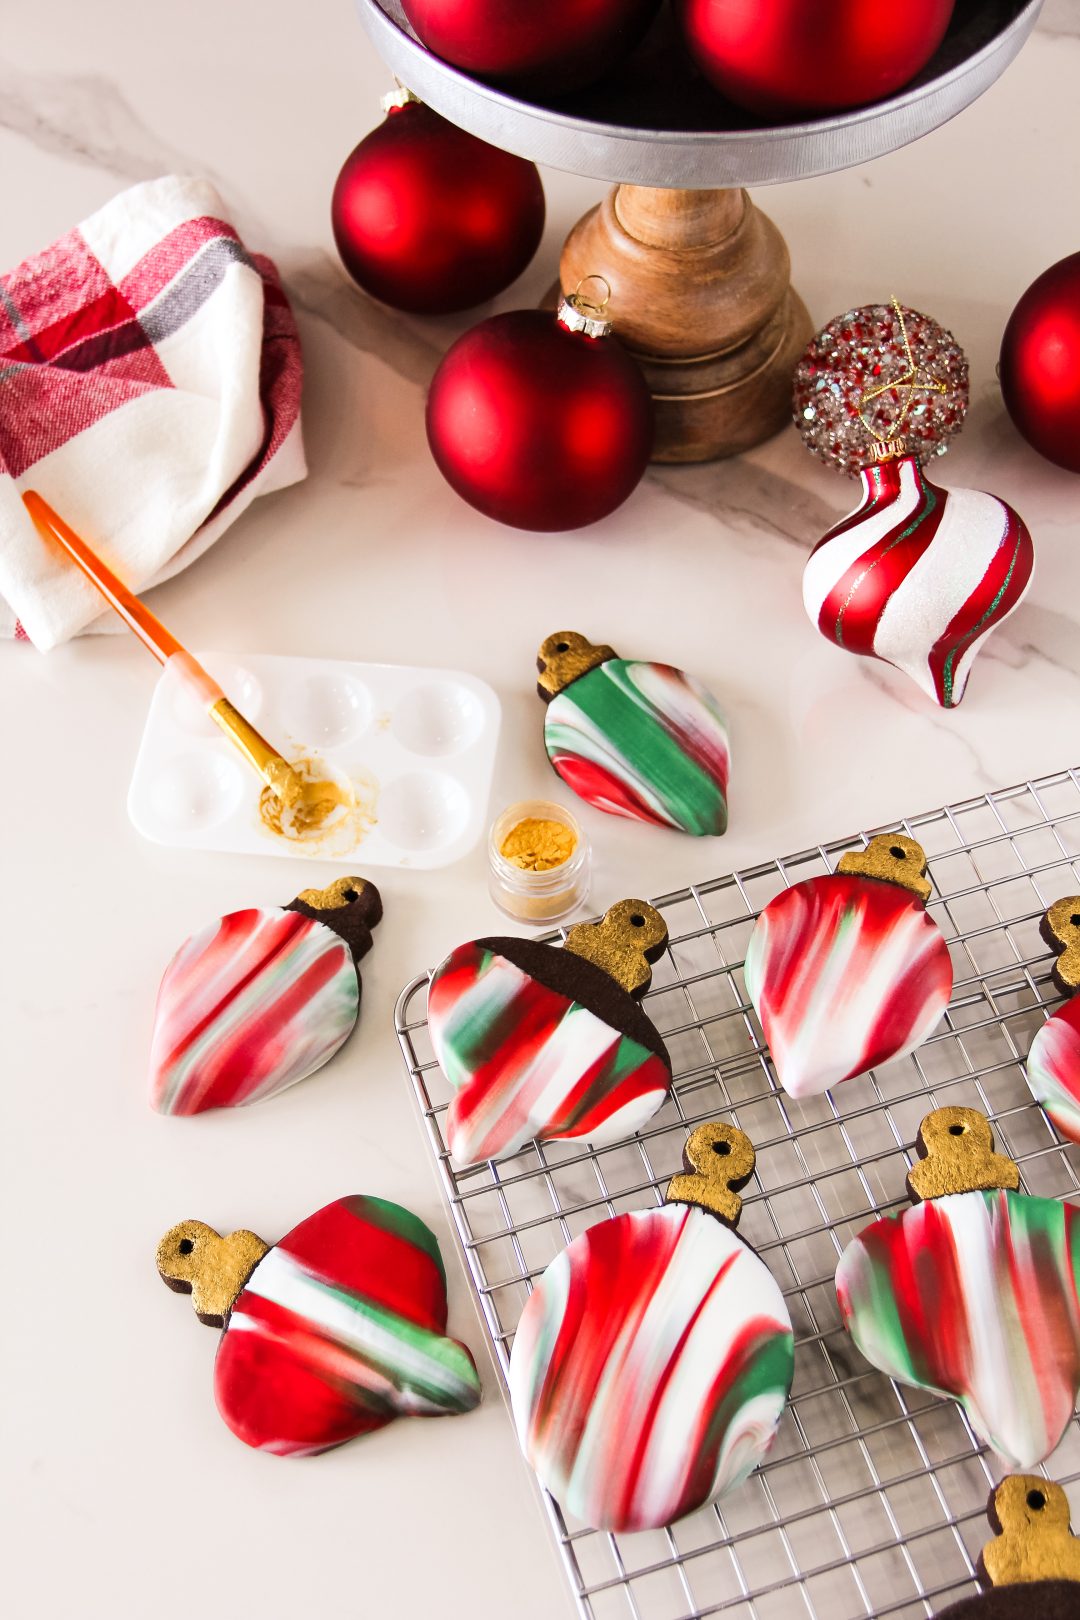
- In a small bowl, mix the gold luster dust with a few drops of water to form a thick, paint-like paste. Using the paint brush, apply the gold to the tips of the ornaments. Allow to dry. Enjoy!
*The candy melts aren’t officially gluten free (the ingredients don’t contain gluten but the manufacturers don’t test for it). So if you want to be extra safe, you can skip this step and decorate your cookies with a gluten-free frosting of your choice!


3 Comments
Lynda
How is the Bob’s 1 to 1? Do the cookies come out soft instead of grainy? Thanks
Tara Martinsen
Gorgeous!!! Absolutely stunning cookies…I’d say too pretty to eat, but I’d be lying. There is a cookie recipe (that I learned from Sesame Street!) where you would make cutouts in the cookie, then crush suckers (or any hard candy) and fill in the cutouts with the crushed candy. It looked like stained glass! Thank you for sharing your home and kitchen…I can’t begin to understand how you do it all! Merry Christmas!!!! 🎄
Anna
I love any new ideas for gluten free! Especially in the snack dept because we have so many kids. My hubby actually has gluten allergies so I’ve been cooking gluten free sense 2013 but we would still just do regular for the rest of the family. Then in 2016 when I was diagnosed with thyroid cancer we went completely gluten free so I’ve got tons of recipes I could share that are quick and great for the family. I especially love crockpot meals!